Creating content-types
The content of this page might not be fully up-to-date with Strapi 5 yet.
The Content-type Builder is only accessible to create and update content-types when your Strapi application is in a development environment, else it will be in a read-only mode in other environments.
The Content-type Builder allows to create new content-types: single and collection types. Although they are not proper content-types as they cannot exist independently, components can also be created through the Content-type Builder, in the same way as collection and single types.
Creating a new content-type


Content types are created from the Content-type Builder's Collection types and Single types categories, both displayed in the Content-type Builder sub navigation.
To create a new content-type:
Choose whether you want to create a collection type or a single type.
In the category of the content-type you want to create, click on Create a new collection/single type.
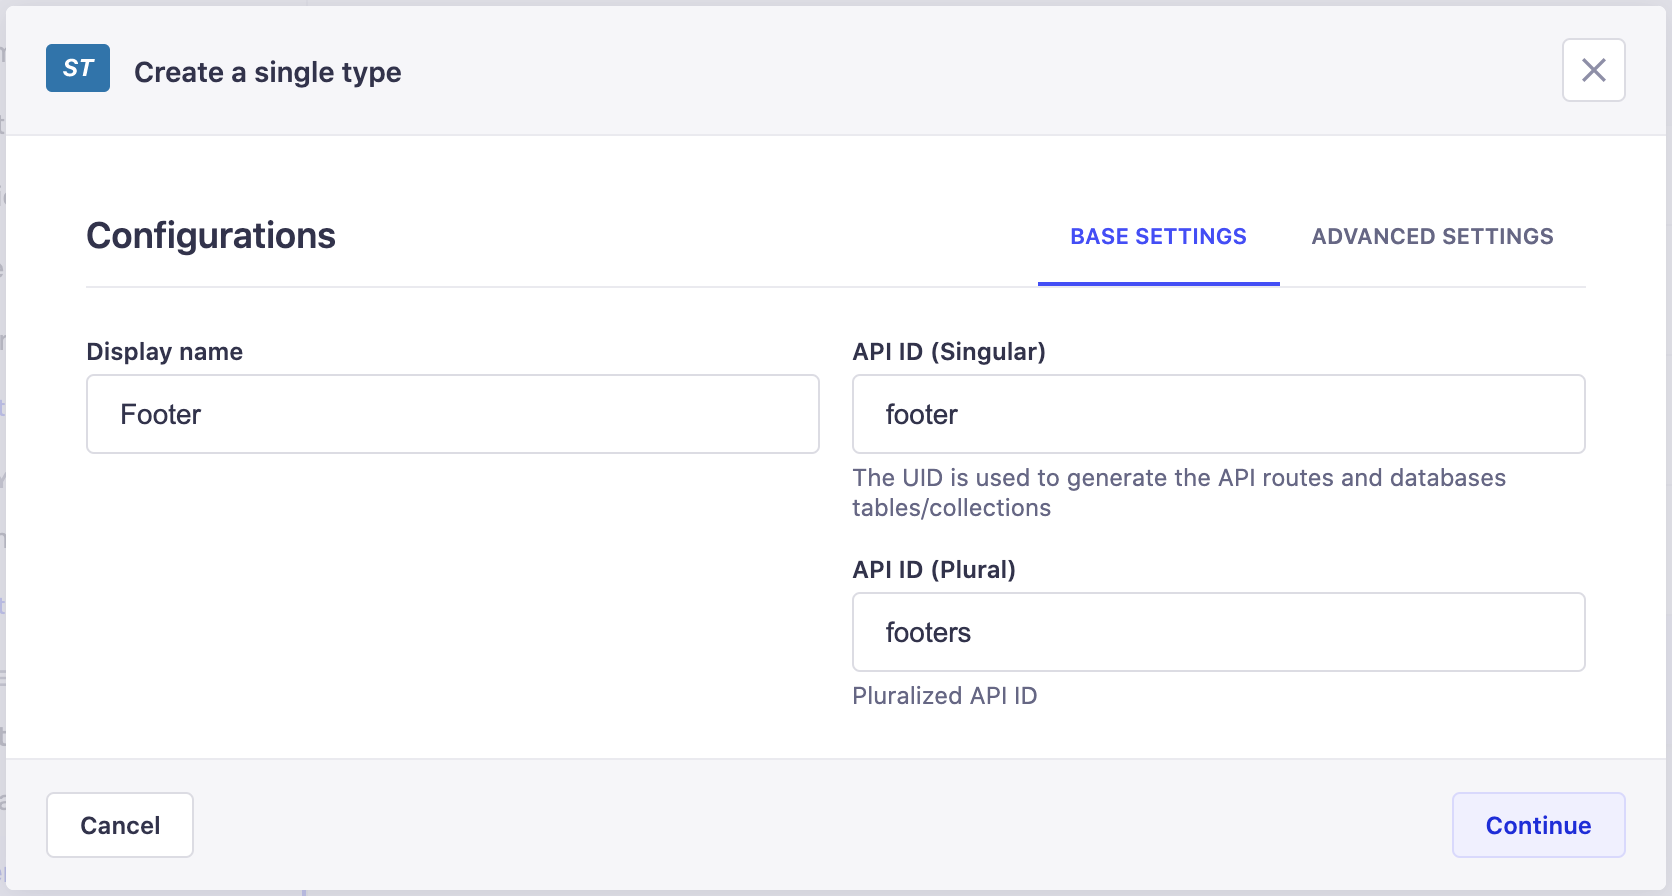
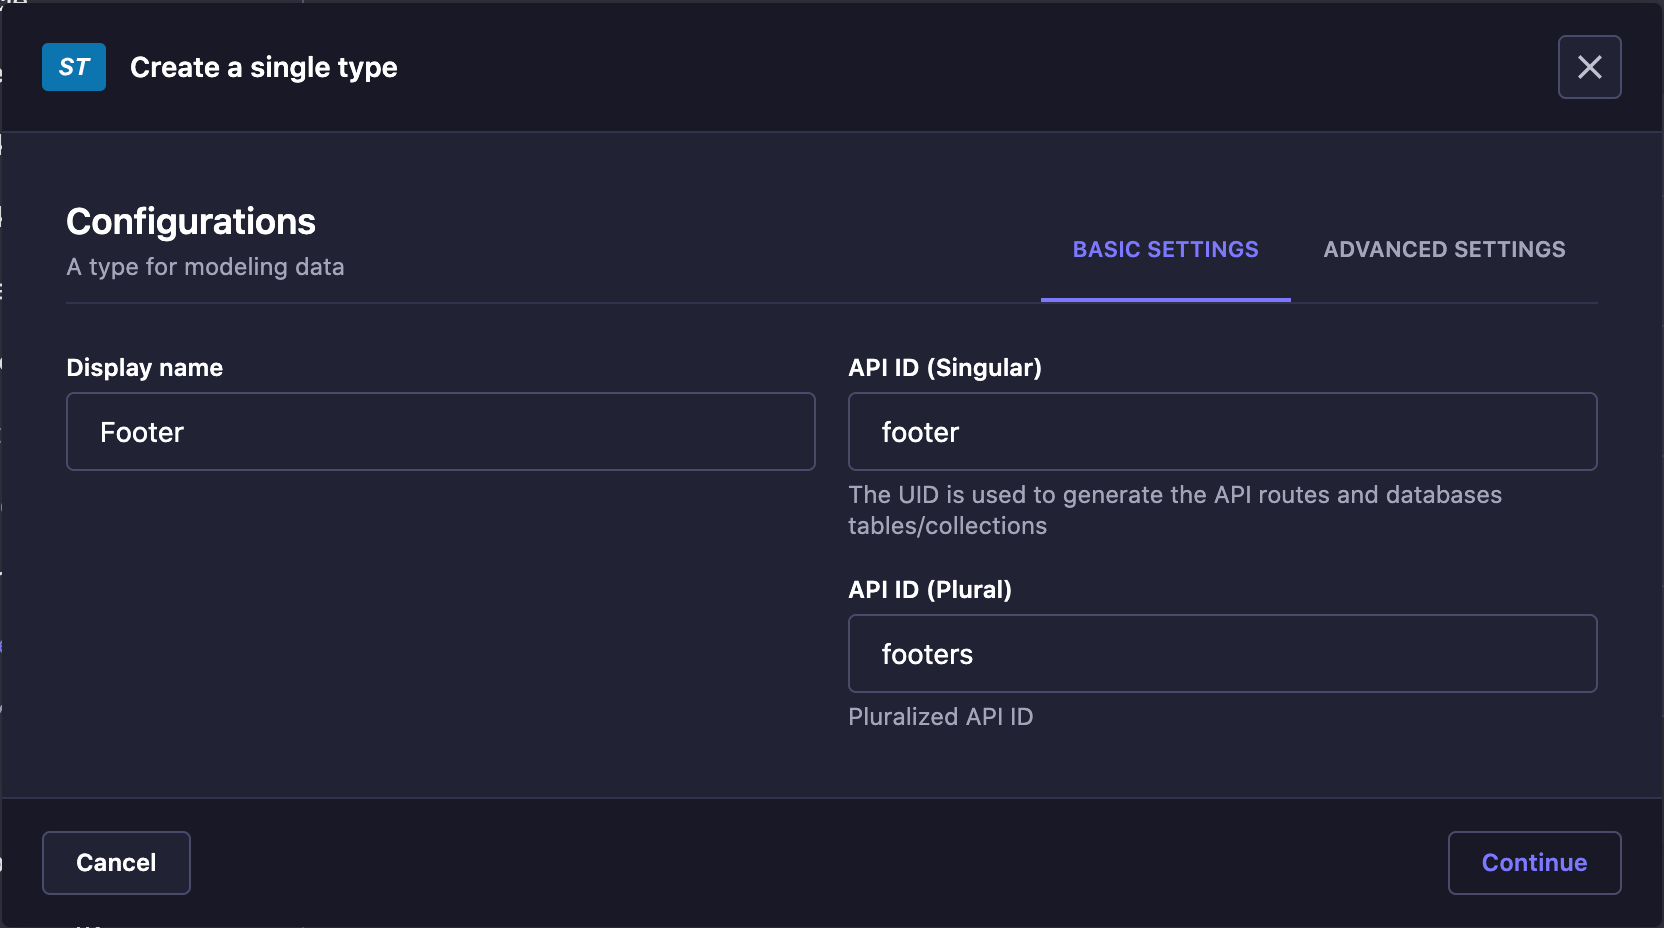
In the content-type creation window, write the name of the new content-type in the Display name textbox.
Check the API UID to make sure the automatically pre-filled values are correct. Collection type names are indeed automatically pluralized when displayed in the Content Manager. It is recommended to opt for singular names, but the API UID field allows to fix any pluralization mistake.
(optional) In the Advanced Settings tab, configure the available settings for the new content-type:
Setting name Instructions Draft & publish Tick the checkbox to allow entries of the content-type to be managed as draft versions, before they are published (see Saving & publishing content). Localization (if the Internationalization plugin is installed) Tick the checkbox to allow entries of the content-type to be translated into other locales. Review workflows Enterprise Tick the checkbox to allow entries of the content-type to be managed through defined review stages (see Managing Review Workflows). Click on the Continue button.
Add and configure chosen fields for your content-type (see Configuring fields for content-types).
Click on the Save button.
New content-types are only considered created once they have been saved. Saving is only possible if at least one field has been added and properly configured. If these steps have not been done, a content-type cannot be created, listed in its category in the Content-type Builder, and cannot be used in the Content Manager.
Creating a new component


Components are created from the same-named category of the Content-type Builder's sub navigation.
To create a new component:
- In the Components category of the Content-type Builder sub navigation, click on Create a new component.
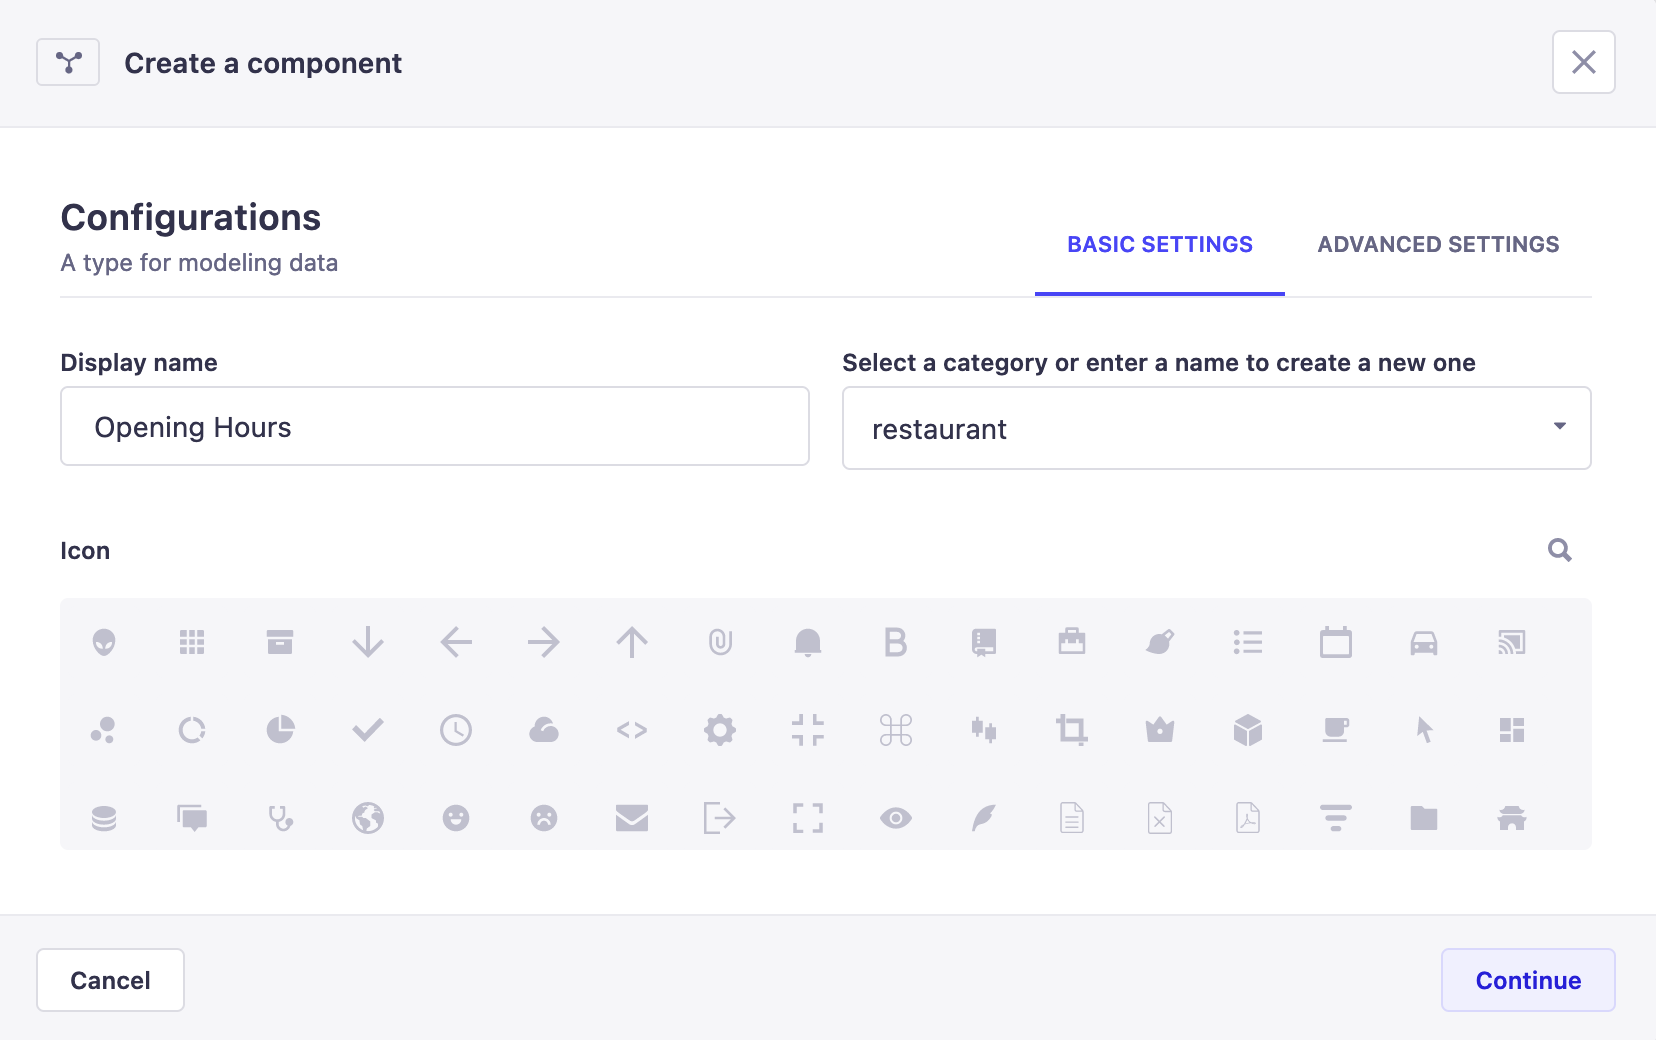
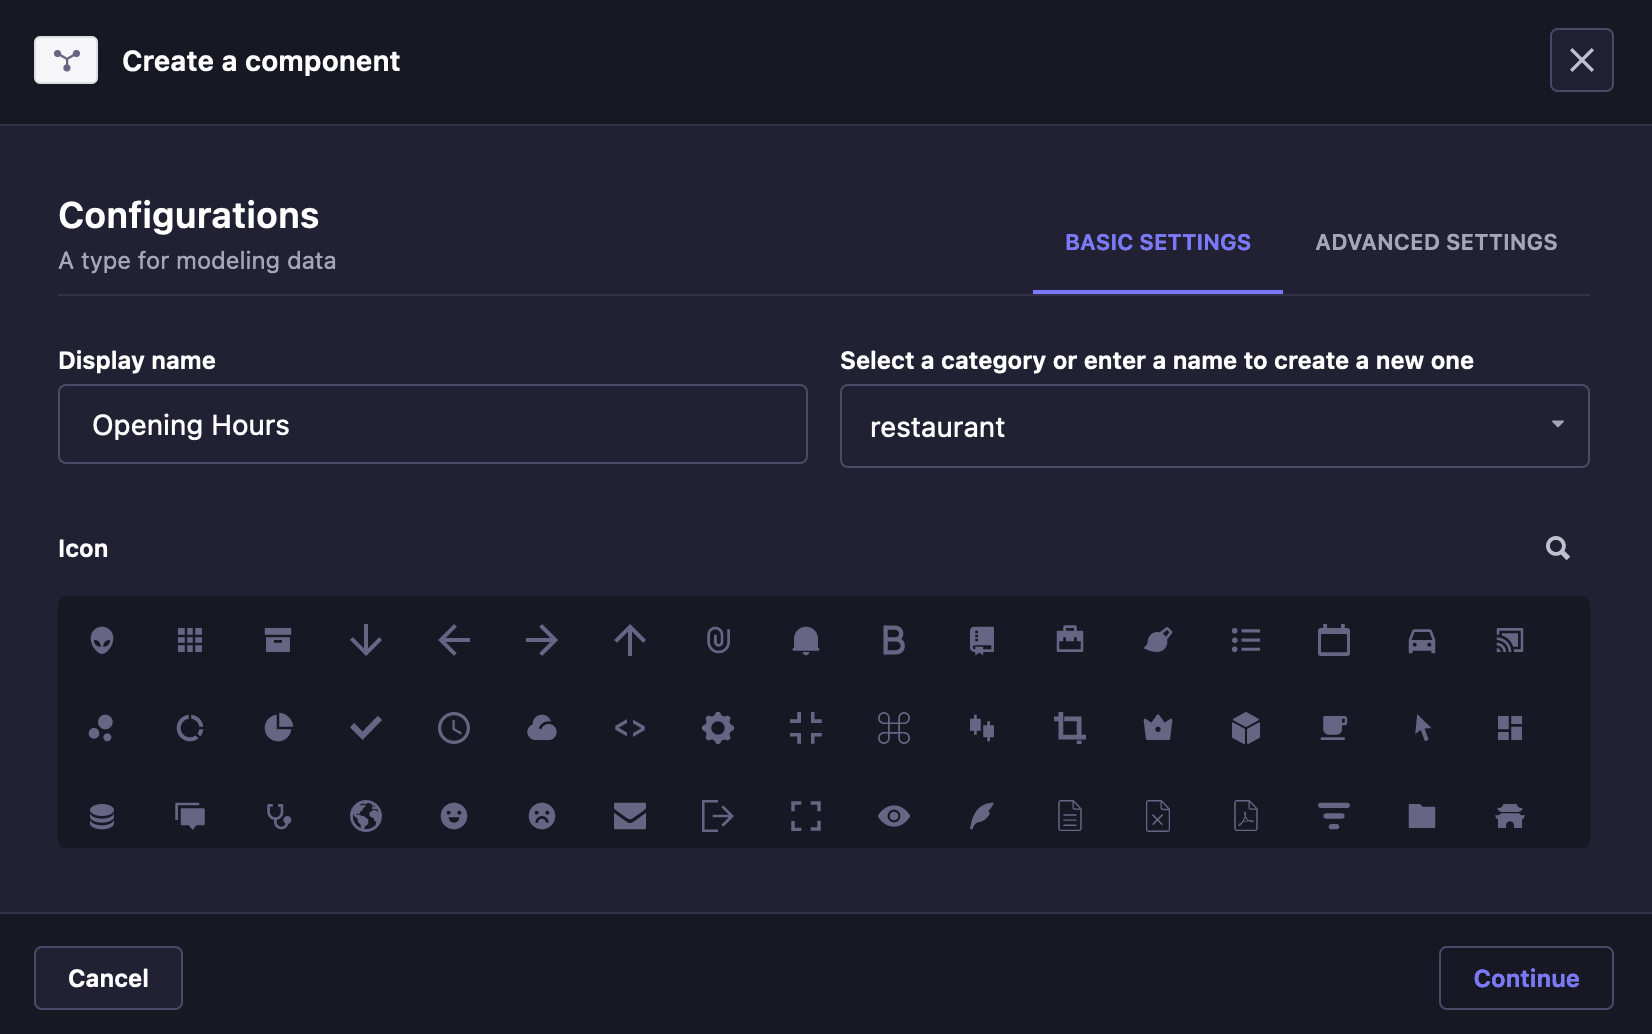
- In the component creation window, configure the base settings of the new component:
- Write the name of the component in the Name textbox.
- Select an available category, or enter in the textbox a new category name to create one.
- (optional) Choose an icon representing the new component. You can use the search
to find an icon instead of scrolling through the list.
- Click on the Continue button.
- Add and configure chosen fields for your component (see Configuring fields for content-types).
- Click on the Save button.